Are your seeking to learn how to repair wood porch steps? This article will provide you with a step-by-step guide on how to fix them, as well as some helpful tips and tricks to make the process easier.
Wood porch steps are a beautiful and classic feature of many homes. However, over time, they can become worn, damaged, or even dangerous to walk on. If you’ve noticed that your porch steps are in need of repair, don’t worry – with a little bit of know-how and some elbow grease, you can fix them up in no time.
How to repair wood porch steps?
Contents
The guide below will walk you through the steps involved in repairing your wood porch steps. We’ll cover everything from assessing the damage to finishing the repairs, and we’ll provide you with plenty of tips and tricks along the way. So, whether you’re a seasoned DIYer or a first-time fixer-upper, you’ll be able to get your porch steps looking and functioning like new.
Assess the Damage
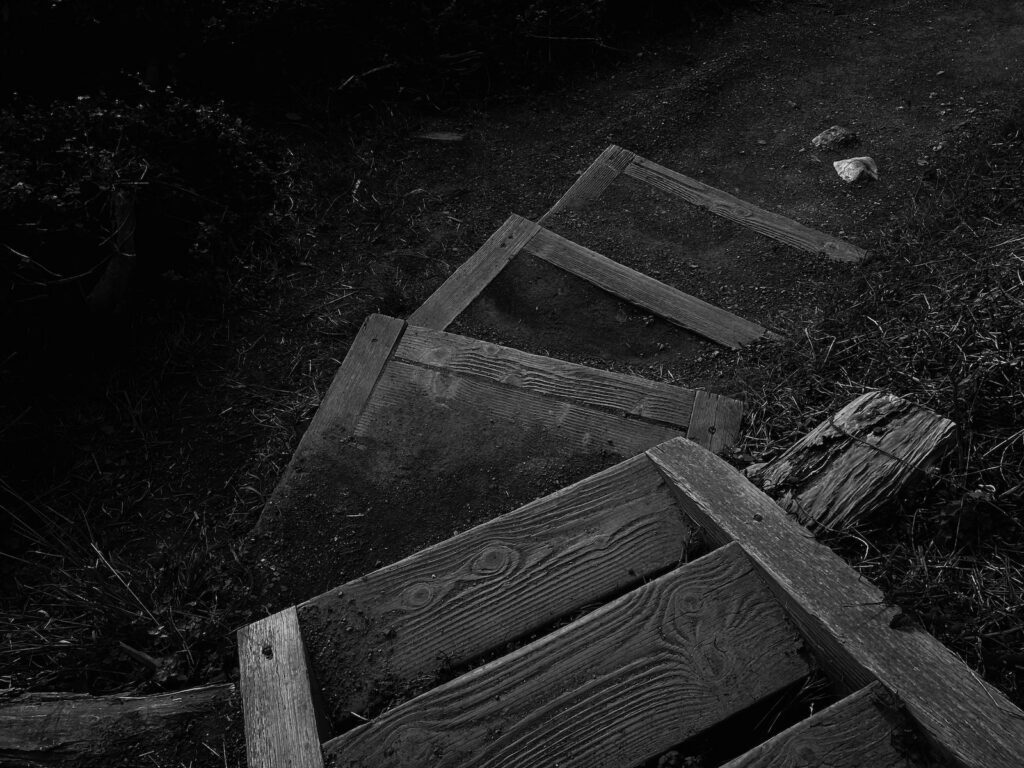
Before you start repairing your porch steps, you need to assess the damage. This will help you determine what kind of repairs are necessary and what materials you’ll need to complete the job. Here are some common types of damage you might encounter:
Split or Cracked Boards
Split or cracked boards are a common issue with wooden porch steps, especially if they’ve been exposed to the elements for a long time. To assess this kind of damage, inspect each board carefully and look for any splits or cracks that run along the length of the board.
Rotted Wood
Rotted wood is another common issue, especially in areas where moisture is present. To assess this kind of damage, look for any areas of the wood that are soft, spongy, or discolored.
Loose or Damaged Fasteners
Fasteners are the screws, nails, or bolts that hold your porch steps together. Over time, these fasteners can become loose or damaged, which can cause your steps to become unstable. To assess this kind of damage, inspect each fastener and look for any signs of rust, corrosion, or damage.
Gather Your Materials
Once you’ve assessed the damage to your porch steps, it’s time to gather your materials. Here’s a list of what you’ll need:
- Safety goggles and gloves
- Pry bar or hammer
- Circular saw or handsaw
- Drill
- Screws, nails, or bolts (depending on the type of fasteners you need to replace)
- Wood glue
- Wood filler
- Sandpaper
- Stain or paint (optional)
Make the Repairs
Now that you’ve assessed the damage and gathered your materials, it’s time to start making the repairs. Here’s a step-by-step guide to help you along the way:
Step 1: Remove Damaged Wood
Use a pry bar or hammer to remove any damaged or rotten wood from your porch steps. Be sure to wear safety goggles and gloves to protect your eyes and hands.
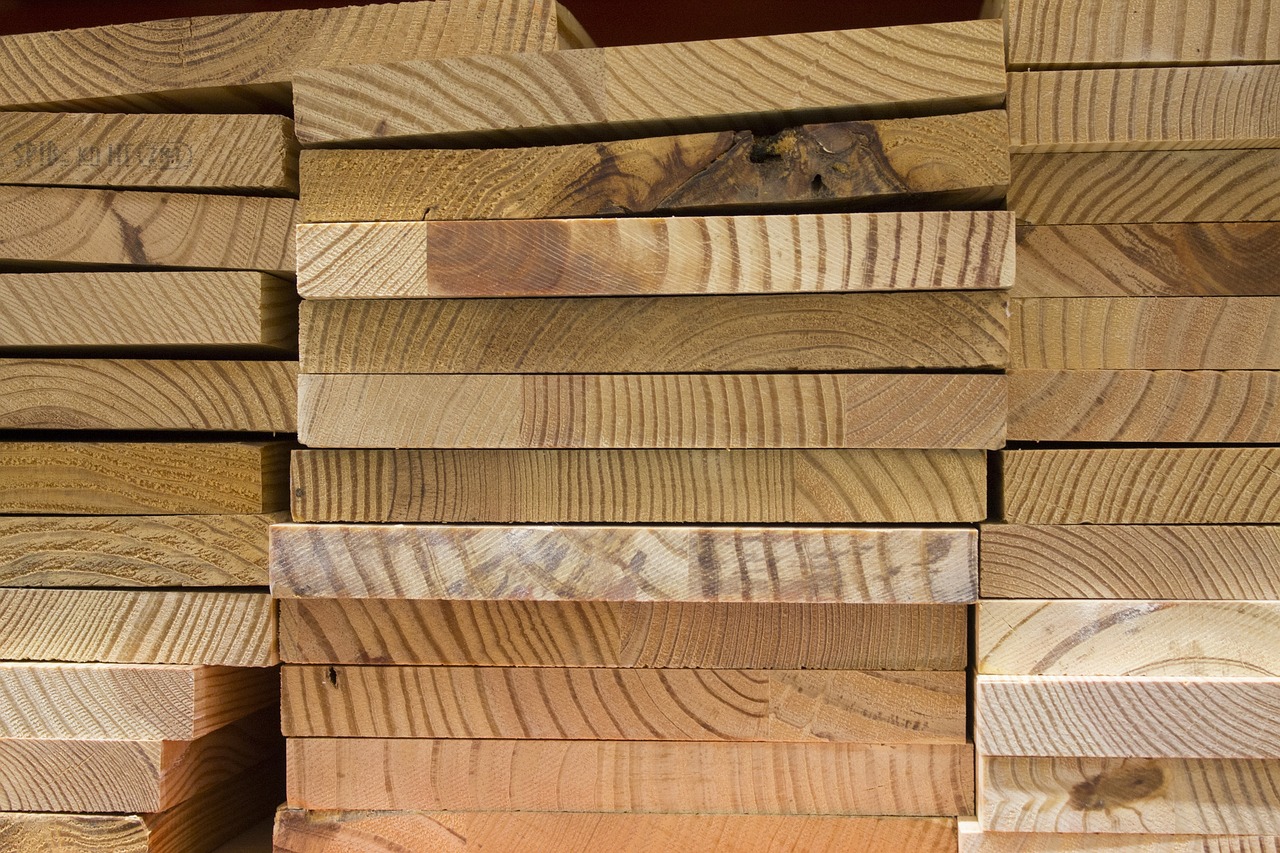
Step 2: Cut Replacement Boards to Size
Using a circular saw or handsaw, cut replacement boards to the appropriate size. Be sure to measure carefully and cut the boards slightly longer than necessary, as you can always trim them down later.
Step 3: Install Replacement Boards
Use a drill to attach the replacement boards to the porch steps using screws, nails, or bolts (depending on the type of fasteners you need to replace). Be sure to pre-drill the holes to prevent splitting.
Step 4: Fill Any Gaps or Holes
If there are any gaps or holes between the new and old wood, use wood filler to fill them in. Apply the filler generously and use a putty knife to smooth it out. Allow the filler to dry completely before moving on to the next step.
Step 5: Sand the Steps
Use sandpaper to smooth out any rough edges or surfaces on your porch steps. Be sure to sand in the direction of the grain to avoid damaging the wood.
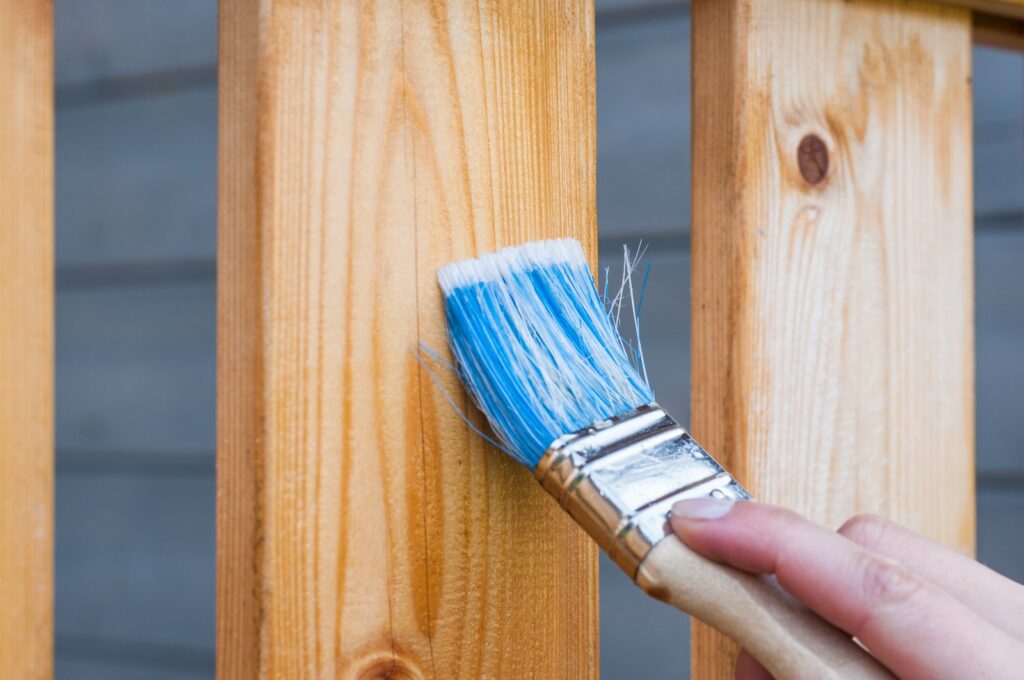
Step 6: Apply Stain or Paint (optional)
If you want to give your porch steps a new look, you can apply stain or paint. Be sure to choose a product that is designed for outdoor use and follow the manufacturer’s instructions carefully.
Helpful Tips and Tricks
Here are some tips and tricks that can help make the process of repairing your porch steps a little easier:
- Wear safety goggles and gloves to protect your eyes and hands.
- Measure twice, cut once. Double-check your measurements before making any cuts.
- Use a level to ensure that your porch steps are even and level.
- Use a putty knife to smooth out any excess wood filler before it dries.
- Sand in the direction of the grain to avoid damaging the wood.
- Apply multiple coats of stain or paint for best results.
FAQs
Q: Can I repair my porch steps myself, or should I hire a professional?
A: If you’re comfortable with basic DIY projects and have the necessary tools and materials, you can probably repair your porch steps yourself. However, if you’re not confident in your abilities, it’s always best to hire a professional.
Q: How long will it take to repair my porch steps?
A: The time it takes to repair your porch steps will depend on the extent of the damage and the size of the steps. However, most repairs can be completed in a day or two.
Q: Do I need to replace my entire porch steps, or can I just repair the damaged parts?
A: In most cases, you can just repair the damaged parts of your porch steps. However, if the damage is extensive or the steps are very old, you may need to replace the entire structure.
Final thoughts on how to repair wood porch steps
We showed you how to repair wood porch steps. It might seem like a daunting task, but with the right tools and some basic know-how, you can get the job done. By following the steps outlined in this article and using the tips and tricks provided, you’ll be able to fix your porch steps and get them looking and functioning like new. So, what are you waiting for? Roll up your sleeves, gather your materials, and get to work!