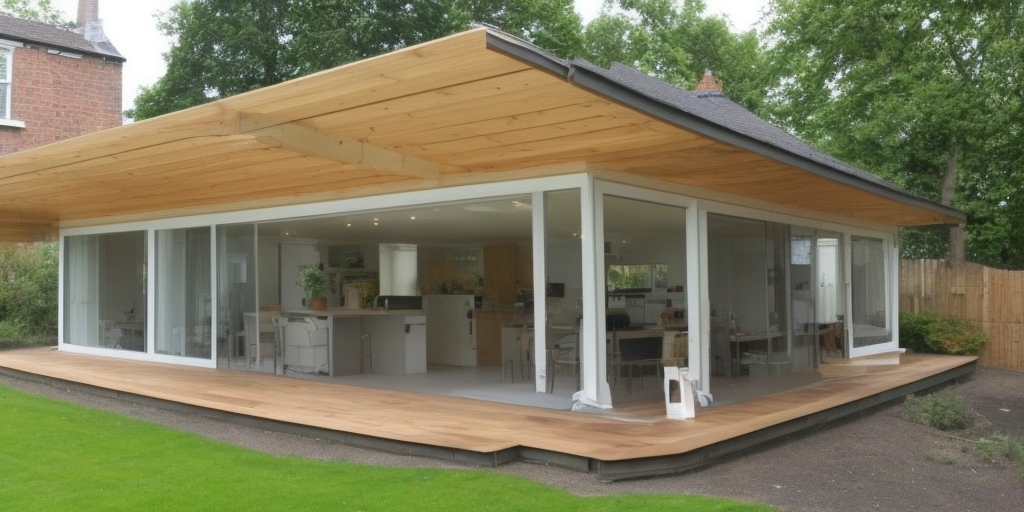
Are you looking to upgrade your porch and give it a fresh new look, then learning how to wrap porch posts may be just the thing? Wrapping porch posts is a fantastic way to add style, elegance, and durability to your outdoor space. Whether you want to cover up unsightly posts or simply enhance the overall aesthetics, wrapping porch posts can transform the appearance of your porch.
In this comprehensive guide, we will walk you through the step-by-step process of wrapping porch posts, from choosing the right materials to the installation techniques. Get ready to elevate your porch game and create a welcoming and beautiful outdoor retreat!
Understanding the benefits of wrapping porch posts
Contents
Wrapping porch posts offers numerous advantages that go beyond aesthetic appeal. Here are some key benefits to consider:
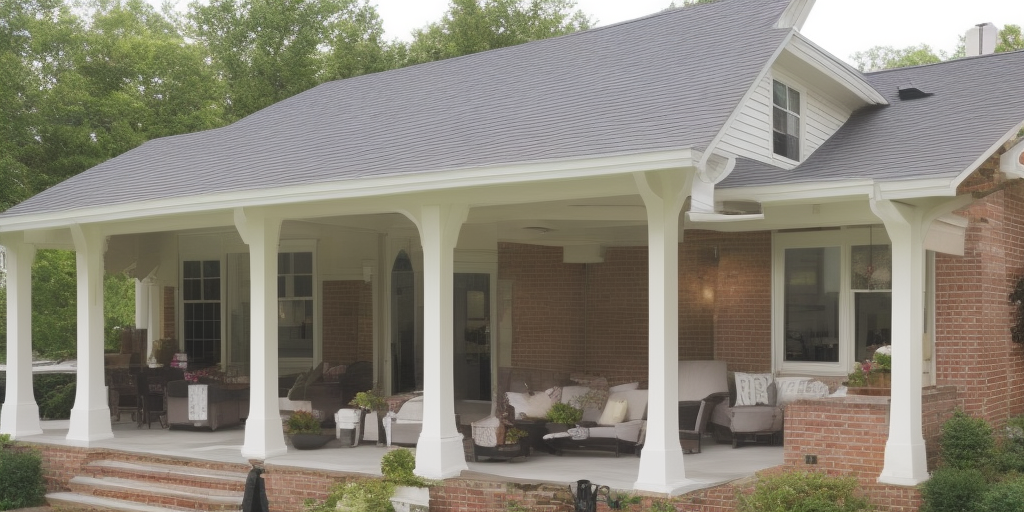
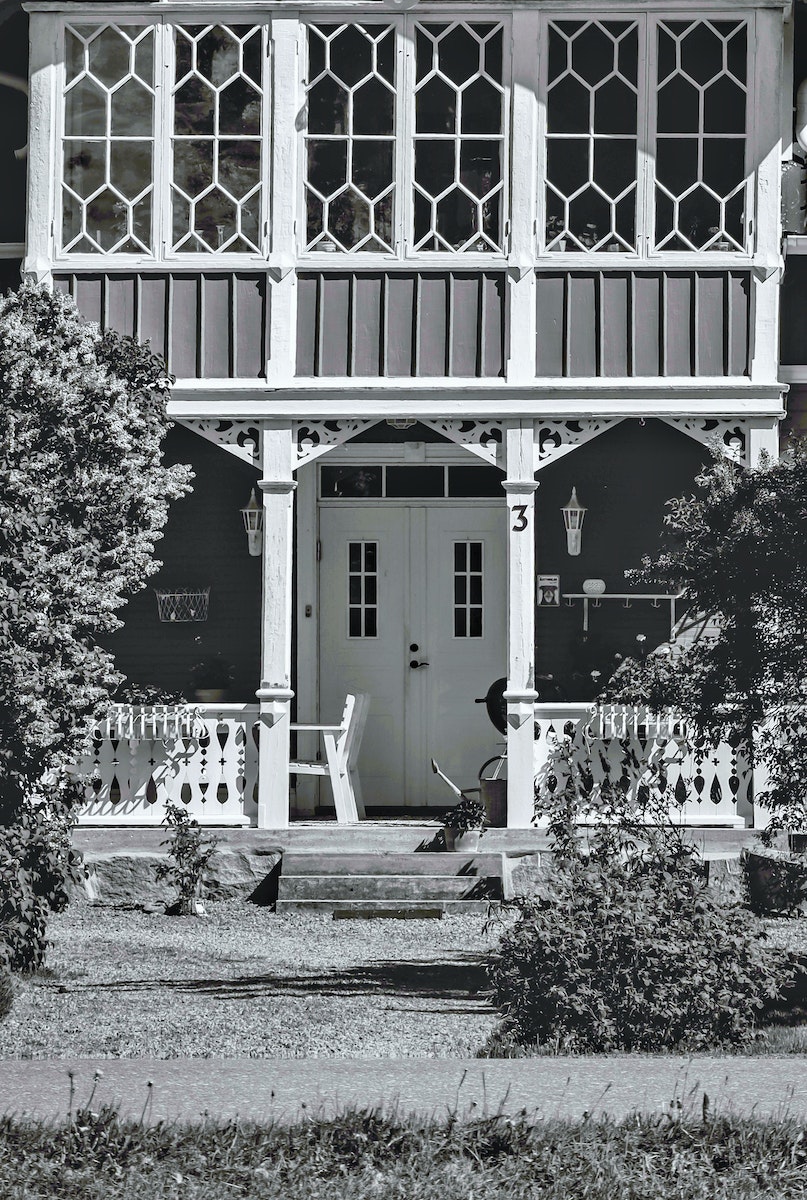
- Enhanced Appearance: Wrapping porch posts instantly elevates the visual appeal of your porch. It adds a touch of elegance, charm, and architectural detail that can complement your home’s style.
- Protection and Durability: Wrapping porch posts provides an additional layer of protection against the elements, protecting the underlying structure from moisture, rot, and pests. It increases the lifespan of your porch posts and reduces the need for frequent maintenance.
- Versatility and Customization: With a wide range of materials, colors, and styles available, you can choose the perfect wrapping option to match your design preferences and complement your home’s exterior.
Choosing the right materials for wrapping porch posts
When it comes to wrapping porch posts, selecting the right materials is crucial. Consider the following options:
PVC Wraps
PVC (polyvinyl chloride) wraps are a popular choice for wrapping porch posts due to their durability, low maintenance, and resistance to moisture, rot, and insects. They are available in a variety of styles and finishes, including wood grain textures, allowing you to achieve the look of real wood without the upkeep.
Composite Wraps
Composite wraps, made from a combination of wood fibers and recycled plastic, offer a balance between aesthetics and durability. They are resistant to rot, insects, and warping, making them a long-lasting option for wrapping porch posts. Composite wraps are available in various colors and textures, allowing you to achieve a natural wood appearance.
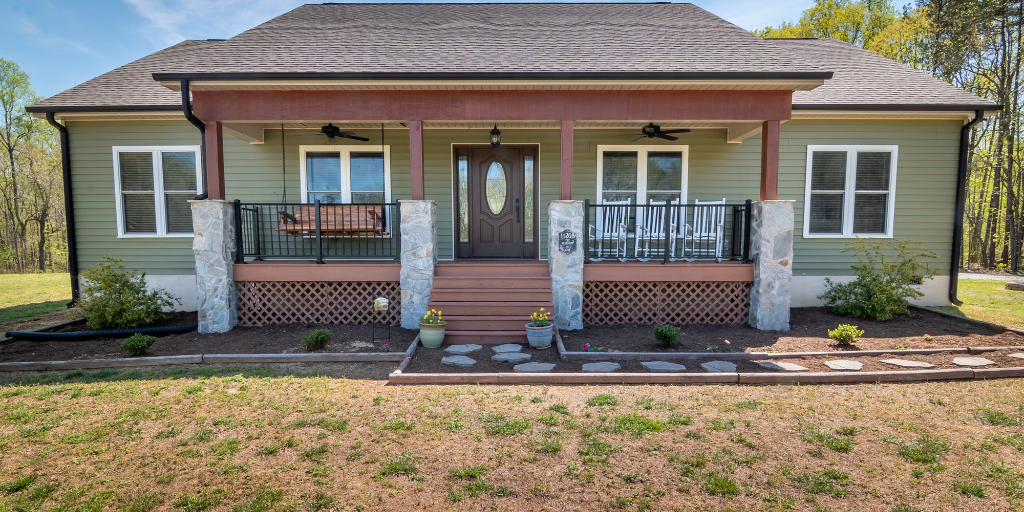
Wood Wraps
For a classic and timeless look, wood wraps are an excellent choice. Cedar and pressure-treated pine are popular wood options due to their natural resistance to rot and insects. Wood wraps can be stained or painted to match your desired aesthetic, but keep in mind that they may require more maintenance compared to PVC or composite wraps.
Step-by-step guide on how to wrap porch posts
Wrapping porch posts is a great way to add style, protection, and durability to your outdoor space. Whether you’re looking to update the look of your porch or protect the existing posts, this step-by-step guide will walk you through the process of wrapping porch posts with ease. So, grab your tools and let’s get started!
Step 1: Gather Your Materials
Before you begin, make sure you have all the necessary materials and tools at hand. Here’s what you’ll need:
- Wrapping material of your choice (PVC wraps, composite wraps, or wood wraps)
- Measuring tape
- Utility knife
- Adhesive or fasteners
- Caulk and caulking gun
- Sandpaper
- Paint or stain (if applicable)
- Paintbrush or roller (if applicable)
Step 2: Prepare the Porch Posts
Preparing the porch posts is essential to ensure a smooth and secure wrap. Follow these steps:
- Clean the porch posts: Remove any dirt, debris, or loose paint from the surface of the posts using a brush or damp cloth.
- Sand the posts: Use sandpaper to lightly sand the surface of the posts. This will create a better bond between the wrapping material and the posts.
- Fill any gaps: If there are any cracks or gaps in the posts, fill them with caulk. Smooth out the caulk with a putty knife for a seamless finish.
Step 3: Measure and Cut the Wrapping Material
Measure the height and circumference of each porch post. Add a few extra inches to ensure the wrap overlaps properly. Using a measuring tape and a utility knife, cut the wrapping material to the appropriate size.
Step 4: Apply Adhesive or Fasteners
Depending on the type of wrapping material you’re using, you’ll need to apply adhesive or fasteners to secure it in place. Follow the manufacturer’s instructions for the specific adhesive or fastener you’re using. Make sure to apply them evenly and securely to ensure a tight fit.
Step 5: Wrap the Porch Posts
Now it’s time to wrap the porch posts. Here’s how:
- Start at the bottom: Begin wrapping the material around the base of the porch post, ensuring it is aligned and centered.
- Work your way up: Continue wrapping the material around the post, overlapping each layer slightly to create a seamless look. Smooth out any wrinkles or bubbles as you go.
- Trim excess material: Once you reach the top of the porch post, trim any excess wrapping material using a utility knife for a clean finish.
Step 6: Finishing Touches (Optional)
If you’re using wood wraps or want to add a pop of color, you can apply paint or stain to the wrapping material. Use a paintbrush or roller to evenly apply the paint or stain, following the manufacturer’s instructions. Allow it to dry completely before moving on.
Step 7: Final Inspection
Take a step back and inspect your wrapped porch posts. Ensure that the wraps are securely in place, free of any gaps or loose ends. Make any necessary adjustments or touch-ups as needed.
FAQs about how to wrap porch posts
Q: Can I wrap my porch posts on my own, or should I hire a professional?
A: While wrapping porch posts can be a DIY project, it’s important to assess your skill level and the complexity of the job. If you have experience with carpentry and construction, you may feel confident tackling the project yourself. However, if you’re unsure or lack the necessary tools, hiring a professional contractor is recommended to ensure proper installation and a satisfactory outcome.
Q: How long does it take to wrap porch posts?
A: The time required to wrap porch posts depends on various factors, including the number of posts, the chosen materials, and your level of expertise. Generally, it can take a few hours to a full day to complete the wrapping process for an average-sized porch.
Q: Can I wrap porch posts without removing them?
A: In most cases, porch posts can be wrapped without removing them. However, it’s essential to thoroughly clean and prepare the surface before installation to ensure a secure and long-lasting wrap. If your porch posts are damaged or unstable, it’s advisable to address those issues before proceeding with the wrapping process.
Q: How do I maintain wrapped porch posts?
A: Maintaining wrapped porch posts is relatively simple. Regularly inspect them for any signs of damage, such as cracks or peeling, and promptly address any issues. Cleaning the wraps periodically with a mild soap and water solution will help maintain their appearance and remove any dirt or debris.
Q: Can I wrap porch posts in different styles or colors?
A: Absolutely! One of the advantages of wrapping porch posts is the ability to customize the look according to your preferences. You can choose different styles, colors, or textures to create a unique and personalized design for your porch.
Final remarks on how to wrap porch posts
Learning how to wrap porch posts is a fantastic way to enhance the beauty and durability of your outdoor space. By choosing the right materials and following the proper installation techniques, you can transform the appearance of your porch and create a welcoming atmosphere for you and your guests.
Whether you opt for PVC wraps, composite wraps, or wood wraps, the result will be a visually appealing and long-lasting addition to your home. So, roll up your sleeves, gather the necessary tools, and embark on this exciting project to give your porch a stunning makeover. Enjoy the process and revel in the transformed beauty of your outdoor oasis!