In this guide, we will show you how to repair vinyl porch ceiling, so you know how to keep your porch looking fresh and inviting. Vinyl porch ceilings are a popular choice for many homeowners due to their durability and low maintenance requirements. However, over time, these ceilings may become damaged due to weather exposure or other factors.
If you’re dealing with a damaged vinyl porch ceiling, don’t worry – repairing it is a straightforward process that you can easily tackle yourself. In this article, we will provide you a general guide on how to repair your vinyl porch ceiling and restore its beauty and functionality.
How to repair vinyl porch ceiling – Step-by-step guide
Contents
- 1 How to repair vinyl porch ceiling – Step-by-step guide
- 2 What materials do you need to repair a vinyl porch ceiling?
- 3 Can you repair a vinyl porch ceiling yourself?
- 4 How do you remove damaged vinyl porch ceiling panels?
- 5 What type of caulk should you use to repair a vinyl porch ceiling?
- 6 How do you measure and cut replacement vinyl porch ceiling panels?
- 7 What type of screws are best for repairing a vinyl porch ceiling?
- 8 Can you paint a repaired vinyl porch ceiling?
- 9 How long does it take to repair a vinyl porch ceiling?
- 10 How much does it cost to repair a vinyl porch ceiling?
- 11 What are the common causes of damage to a vinyl porch ceiling?
- 12 How do you identify the cause of vinyl porch ceiling damage?
- 13 Can vinyl porch ceiling damage be prevented?
- 14 How often should you inspect your vinyl porch ceiling for damage?
- 15 How do you prevent damage to a vinyl porch ceiling?
- 16 Final remarks on how to repair vinyl porch ceiling
If your vinyl porch ceiling is damaged, repairing it is a simple process that you can easily tackle yourself. In this article, we will provide you with a step-by-step guide on how to repair your vinyl porch ceiling and restore its beauty and functionality.
Step 1: Remove the Damaged Panels
Start by removing the damaged panels from your vinyl porch ceiling. Use a utility knife to carefully cut through any caulking or adhesive holding the panels in place. Once the panels are removed, clean the area and ensure that there is no debris or loose material.
Step 2: Measure and Cut Replacement Panels
Measure the size of the damaged area and use those measurements to cut new vinyl ceiling panels to size. Use a utility knife to make precise cuts and ensure that the panels fit snugly into the space.
Step 3: Apply Caulk
Apply a bead of silicone caulk to the edges of the new panels. This will help to seal them in place and prevent moisture from getting in between the panels.
Step 4: Secure the Panels
Use a drill and screws to secure the new panels in place. Screw the panels into the ceiling joists or furring strips to ensure that they are securely attached.
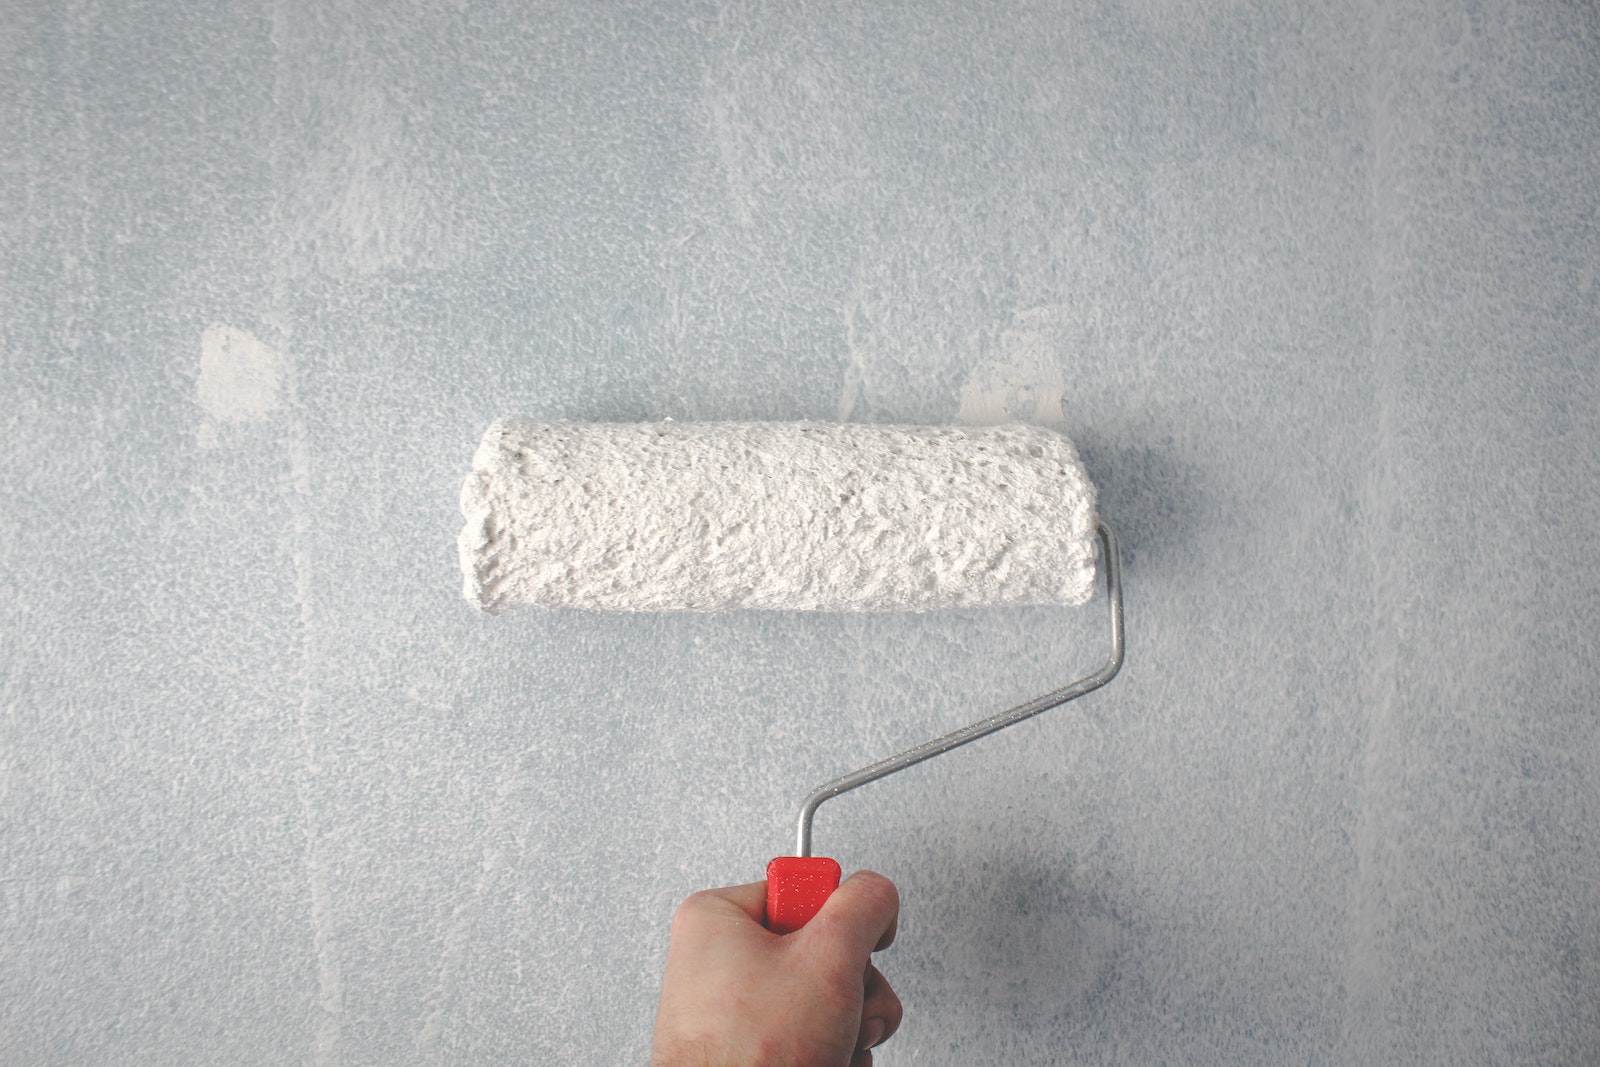
Step 5: Paint (Optional)
If desired, you can paint the new vinyl ceiling panels to match the color of the surrounding panels. Use a primer and paint that are specifically designed for use on vinyl surfaces.
Repairing a damaged vinyl porch ceiling is a simple process that you can easily accomplish with a few basic tools and materials. By following the steps outlined in this article, you can restore the beauty and functionality of your porch ceiling and ensure that it provides years of durable performance.
What materials do you need to repair a vinyl porch ceiling?
To repair a vinyl porch ceiling, you will need the following materials:
Vinyl ceiling panels: You will need new vinyl ceiling panels to replace any damaged or missing panels.
Utility knife: A utility knife will be necessary to cut through any caulking or adhesive holding the damaged panels in place.
Caulking gun: A caulking gun will be needed to apply a bead of silicone caulk around the edges of the new panels to seal them in place.
Silicone caulk: You will need silicone caulk to seal the edges of the new vinyl ceiling panels to prevent moisture from getting in between the panels.
Drill: A drill will be needed to secure the new panels in place using screws.
Screws: You will need screws to secure the new vinyl ceiling panels to the ceiling joists or furring strips.
Paint and primer (optional): If desired, you can use a primer and paint that are specifically designed for use on vinyl surfaces to paint the new panels to match the color of the surrounding panels.
By having these materials on hand, you will be equipped to repair your vinyl porch ceiling and restore its functionality and beauty.

Can you repair a vinyl porch ceiling yourself?
Yes, you can repair a vinyl porch ceiling yourself. Repairing a vinyl porch ceiling is a straightforward process that can be accomplished with a few basic tools and materials. By following the steps outlined in our guide, you can easily repair your vinyl porch ceiling and restore its beauty and functionality.
However, it is important to take the necessary safety precautions and carefully follow each step to ensure that the repair is done correctly and safely. If you are unsure about your ability to perform the repair, it may be best to consult a professional to ensure that the repair is done properly.
How do you remove damaged vinyl porch ceiling panels?
To remove damaged vinyl porch ceiling panels, follow these steps:
Locate the damaged panels: Identify which panels are damaged and need to be removed.
Cut through any caulking or adhesive: Using a utility knife, carefully cut through any caulking or adhesive that is holding the damaged panels in place. Be sure to wear gloves and safety glasses to protect yourself from any debris that may fall.
Remove the damaged panels: Once the caulking or adhesive has been cut, gently remove the damaged panels from the ceiling.
Clean the surrounding area: Use a broom or vacuum to clean up any debris or dust that has accumulated around the damaged panels.
Inspect the underlying structure: Check the underlying structure of the ceiling, including the furring strips and joists, for any signs of damage. If any damage is found, repair it before installing new panels.
By following these steps, you can safely and effectively remove damaged vinyl porch ceiling panels and prepare the area for repair. It is important to take your time and be careful when removing the damaged panels to avoid causing any additional damage to the surrounding area.
What type of caulk should you use to repair a vinyl porch ceiling?
When repairing a vinyl porch ceiling, it is important to use a caulk that is designed for use on vinyl surfaces. Silicone caulk is an ideal choice for repairing vinyl porch ceilings because it is durable, flexible, and water-resistant.
Silicone caulk is a type of sealant that is made from silicone rubber. It is able to bond to a wide variety of surfaces, including vinyl, without breaking down over time. It also remains flexible, which allows it to expand and contract with temperature changes without cracking or separating.
When choosing a silicone caulk for your vinyl porch ceiling repair, look for a product that is specifically labeled as safe for use on vinyl surfaces. Some silicone caulks may contain additives or chemicals that can damage vinyl or cause it to become discolored over time.
In addition to choosing the right type of caulk, it is important to apply it correctly to ensure a strong and durable repair. Be sure to clean and dry the area thoroughly before applying the caulk, and use a caulk gun to apply a smooth and even bead around the edges of the new vinyl ceiling panels.
How do you measure and cut replacement vinyl porch ceiling panels?
To measure and cut replacement vinyl porch ceiling panels, follow these steps:
Measure the length of the panel: Use a tape measure to measure the length of the replacement vinyl porch ceiling panel. Measure from one end to the other, including any overlapping edges that will be covered by adjacent panels.
Cut the panel to length: Use a utility knife to score the vinyl panel along the measurement line. Then, bend the panel along the scored line to break it cleanly. Use the utility knife to trim any rough or jagged edges.
Measure the width of the panel: Measure the width of the replacement vinyl porch ceiling panel using a tape measure. Measure from the edge that will be attached to the ceiling to the opposite edge.
Cut the panel to width: Use the utility knife to score the vinyl panel along the measurement line. Then, bend the panel along the scored line to break it cleanly. Use the utility knife to trim any rough or jagged edges.
Cut notches for fixtures: If the panel needs to fit around light fixtures or other obstructions, use a jigsaw or hole saw to cut notches in the panel. Be sure to measure and mark the locations of any fixtures before cutting the panel.
Test fit the panel: Before attaching the new panel to the ceiling, test fit it to ensure that it fits correctly and does not require any additional trimming or adjustment.
By following these steps, you can measure and cut replacement vinyl porch ceiling panels with accuracy and precision. It is important to take your time and be careful when cutting the panels to ensure a clean and accurate cut.
What type of screws are best for repairing a vinyl porch ceiling?
When repairing a vinyl porch ceiling, it is important to use screws that are specifically designed for use on vinyl or other synthetic materials. Stainless steel screws are the best option for repairing a vinyl porch ceiling, as they are durable, rust-resistant, and will not react with the vinyl or cause discoloration over time.
Stainless steel screws are made from an alloy of steel and chromium, which gives them excellent resistance to corrosion and rust. This makes them ideal for outdoor applications, where they will be exposed to moisture, rain, and other weather elements.
When choosing screws for your vinyl porch ceiling repair, look for screws that are specifically designed for use with vinyl or synthetic materials. These screws will have a specialized thread design that is optimized for a strong and secure grip on the vinyl surface.
In addition to choosing the right type of screws, it is important to use the correct length and size of screws for your vinyl porch ceiling repair. Be sure to measure the thickness of the vinyl panels and the underlying support structure before selecting the appropriate screws. Using screws that are too short may not provide enough support, while using screws that are too long may damage the underlying structure or cause the vinyl to buckle or warp.
Overall, stainless steel screws that are specifically designed for use with vinyl or synthetic materials are the best option for repairing a vinyl porch ceiling. They provide a secure and durable hold, while also being resistant to rust and corrosion.
Can you paint a repaired vinyl porch ceiling?
Yes, it is possible to paint a repaired vinyl porch ceiling. However, it is important to follow the proper preparation and painting procedures to ensure a successful outcome.
Here are the steps to follow when painting a repaired vinyl porch ceiling:
Clean the surface: Use a mild detergent and water to clean the repaired area of the vinyl porch ceiling. Rinse the area thoroughly with clean water and allow it to dry completely.
Sand the surface: Use a fine-grit sandpaper to lightly sand the repaired area. This will create a rough surface that will help the paint adhere properly.
Apply a primer: Apply a coat of primer specifically designed for use on vinyl surfaces. This will help the paint adhere to the surface and provide a smooth and even finish.
Apply the paint: Use a high-quality exterior paint specifically designed for use on vinyl surfaces. Apply the paint in thin, even coats, following the manufacturer’s instructions for drying and recoating times.
Apply a second coat: Once the first coat of paint has dried completely, apply a second coat for a more even and consistent finish.
When painting a repaired vinyl porch ceiling, it is important to use paint that is specifically designed for use on vinyl or other synthetic surfaces.
This will help to ensure a long-lasting and durable finish that will withstand the elements and regular wear and tear. Be sure to follow the manufacturer’s instructions for proper preparation, application, and curing of the paint for best results.
How long does it take to repair a vinyl porch ceiling?
The time it takes to repair a vinyl porch ceiling will depend on the extent of the damage and the complexity of the repair. For minor repairs, such as filling in small cracks or holes, the repair may only take a few hours. However, for more extensive repairs, such as replacing large sections of damaged vinyl panels, the repair process may take several days.
Here is a general timeline of the steps involved in repairing a vinyl porch ceiling:
Assess the damage: The first step in repairing a vinyl porch ceiling is to assess the extent of the damage. This will help you determine the materials and tools needed for the repair.
Gather materials and tools: Once you have assessed the damage, gather the materials and tools needed for the repair. This may include replacement vinyl panels, screws, caulk, a saw, a drill, and other materials.
Remove damaged panels: If the repair involves replacing damaged vinyl panels, the next step is to remove the damaged panels. This may involve unscrewing the panels from the support structure and carefully removing them from the porch.
Cut and install replacement panels: Once the damaged panels have been removed, the next step is to measure and cut replacement panels to fit the space. This may involve cutting the panels to size and drilling holes for screws.
Install replacement panels: Once the replacement panels have been cut and drilled, they can be installed onto the porch. This may involve screwing the panels into the support structure and caulking the seams to ensure a watertight seal.
Allow time for caulking and paint to dry: If the repair involves caulking or painting the repaired area, it is important to allow time for the caulk and paint to dry completely before using the porch.
Overall, the time it takes to repair a vinyl porch ceiling will depend on the extent of the damage and the complexity of the repair. For minor repairs, the repair may only take a few hours, while more extensive repairs may take several days.
How much does it cost to repair a vinyl porch ceiling?
The cost to repair a vinyl porch ceiling will depend on the extent of the damage and the materials and tools needed for the repair. Here are some factors that may affect the cost of a vinyl porch ceiling repair:
Size of the repair: The larger the area that needs to be repaired, the more materials and labor will be required, which will increase the overall cost of the repair.
Type of damage: The type of damage to the vinyl porch ceiling will also affect the cost of the repair. Minor damage, such as small cracks or holes, may be less expensive to repair than extensive damage that requires replacement of large sections of the ceiling.
Materials and tools needed: The cost of materials and tools needed for the repair, such as replacement vinyl panels, screws, caulk, and paint, will also affect the overall cost of the repair.
Labor costs: If you choose to hire a professional to repair your vinyl porch ceiling, labor costs will also need to be factored into the overall cost of the repair.
Based on these factors, the cost of repairing a vinyl porch ceiling can range from a few hundred dollars for minor repairs to several thousand dollars for more extensive repairs or if you hire a professional. It’s important to get a quote from a reputable contractor to determine the exact cost of the repair before proceeding with the project.
What are the common causes of damage to a vinyl porch ceiling?
There are several common causes of damage to a vinyl porch ceiling:
Moisture: Moisture is one of the most common causes of damage to a vinyl porch ceiling. Over time, moisture can seep into the ceiling and cause it to warp, crack, or even rot. This can be caused by heavy rain, snow, or even humidity.
Sun exposure: Exposure to the sun’s UV rays can cause a vinyl porch ceiling to fade, discolor, and become brittle over time. This can make the ceiling more prone to cracking and other forms of damage.
Impact: Impact from falling debris or even foot traffic can cause damage to a vinyl porch ceiling. This can cause cracks, holes, or even structural damage that requires repair or replacement.
Improper installation: Improper installation of a vinyl porch ceiling can also cause damage over time. If the ceiling is not installed properly, it may be more prone to warping, cracking, or even falling off.
Lack of maintenance: A lack of maintenance can also cause damage to a vinyl porch ceiling. Regular cleaning and inspections can help to identify any signs of damage early on and prevent further damage.
By understanding the common causes of damage to a vinyl porch ceiling, you can take steps to prevent or address issues as they arise, ensuring the safety and longevity of your porch ceiling.
How do you identify the cause of vinyl porch ceiling damage?
Vinyl porch ceiling damage can be caused by a variety of factors, including exposure to the elements, wear and tear, and improper installation. Here are some steps you can take to identify the cause of damage to your vinyl porch ceiling:
Inspect the damage: The first step in identifying the cause of damage to your vinyl porch ceiling is to inspect the damage. Look for cracks, holes, and other signs of damage, and take note of the location and extent of the damage.
Check for leaks: Water damage can be a common cause of damage to vinyl porch ceilings. Check the area above the damaged portion of the ceiling for signs of leaks or water damage, such as water stains or discoloration.
Check for mold or mildew: If the damaged portion of your vinyl porch ceiling is discolored or has a musty smell, it could be a sign of mold or mildew growth. Check for signs of mold or mildew on the surface of the ceiling and in the surrounding area.
Check the installation: Improper installation of a vinyl porch ceiling can also lead to damage over time. Check the installation to ensure that it was done correctly and that there are no gaps or areas where moisture can penetrate.
Consider environmental factors: Exposure to the elements, such as wind, rain, and extreme temperatures, can also cause damage to a vinyl porch ceiling. Consider the environmental factors in your area and how they may be affecting your porch ceiling.
By following these steps, you can identify the cause of damage to your vinyl porch ceiling and take steps to repair and prevent further damage in the future. If you are unsure of the cause of the damage or how to repair it, it’s best to consult with a professional contractor.
Can vinyl porch ceiling damage be prevented?
Yes, there are several steps that can be taken to prevent damage to a vinyl porch ceiling:
Regular cleaning: Regular cleaning of your vinyl porch ceiling can help to prevent the buildup of dirt, debris, and other materials that can cause damage over time. Use a mild detergent and a soft-bristled brush to clean the surface of the ceiling and remove any buildup.
Proper installation: Proper installation of a vinyl porch ceiling is essential to preventing damage. Make sure that the installation is done by a professional and that all seams and joints are properly sealed to prevent moisture penetration.
Regular inspections: Regular inspections of your vinyl porch ceiling can help to identify any signs of damage early on and prevent further damage. Check for cracks, holes, and other signs of damage, and address any issues as soon as possible.
Maintenance of surrounding areas: The areas surrounding your porch can also impact the condition of your vinyl porch ceiling. Make sure that gutters and downspouts are functioning properly to prevent water from pooling on or around the porch ceiling.
Protection from the elements: Extreme weather conditions, such as high winds and hail, can cause damage to a vinyl porch ceiling. Consider installing storm shutters or other protective measures to prevent damage during severe weather events.
By taking these steps, you can help to prevent damage to your vinyl porch ceiling and extend its lifespan. It’s also important to address any issues as soon as they arise to prevent further damage and ensure the safety of your porch.
How often should you inspect your vinyl porch ceiling for damage?
It is recommended that you inspect your vinyl porch ceiling for damage at least once a year, preferably before the start of the summer season or after severe weather events. This will help you to identify any signs of damage early on and address any issues before they become more severe.
If your porch is exposed to extreme weather conditions, such as high winds or hail, you may need to inspect it more frequently. Additionally, if you notice any signs of damage, such as cracks or holes, it’s important to address them as soon as possible to prevent further damage and ensure the safety of your porch.
How do you prevent damage to a vinyl porch ceiling?
Vinyl porch ceilings are durable and long-lasting, but they can still be susceptible to damage over time due to exposure to the elements, as well as normal wear and tear. Here are some tips to help prevent damage to a vinyl porch ceiling:
Regular cleaning: Regularly cleaning your vinyl porch ceiling can help prevent dirt and debris from accumulating, which can cause damage over time. Use a gentle soap and water solution and a soft-bristled brush to clean the surface of the ceiling.
Trim overhanging trees: Overhanging trees and branches can cause damage to your vinyl porch ceiling over time, so it’s important to trim them regularly to prevent them from coming into contact with the ceiling.
Avoid using abrasive cleaners: Harsh cleaners and abrasive cleaning tools can scratch and damage the surface of your vinyl porch ceiling, so it’s best to use a gentle cleaner and soft brush or cloth.
Repair damage promptly: If you notice any damage to your vinyl porch ceiling, such as cracks or holes, it’s important to repair them promptly to prevent further damage from occurring.
Install a ceiling fan: Installing a ceiling fan on your porch can help keep the air circulating and prevent moisture from accumulating on the ceiling, which can cause damage over time.
Use caution when hanging items: When hanging items from your vinyl porch ceiling, such as lights or decorations, use caution to prevent damaging the surface of the ceiling. Use hooks or hangers designed for use with vinyl surfaces, and avoid using nails or screws that can damage the surface.
By following these tips, you can help prevent damage to your vinyl porch ceiling and ensure that it lasts for many years to come.
Final remarks on how to repair vinyl porch ceiling
You have seen how to repair vinyl porch ceiling, now its up to you to take what you have learned and put into practical use! By following the steps outlined above, you can restore the beauty and functionality of your porch ceiling and ensure that it provides years of durable performance.
Remember to take the necessary safety precautions and carefully follow each step to ensure that the repair is done correctly and safely. With a little time and effort, you can have your vinyl porch ceiling looking as good as new in no time.