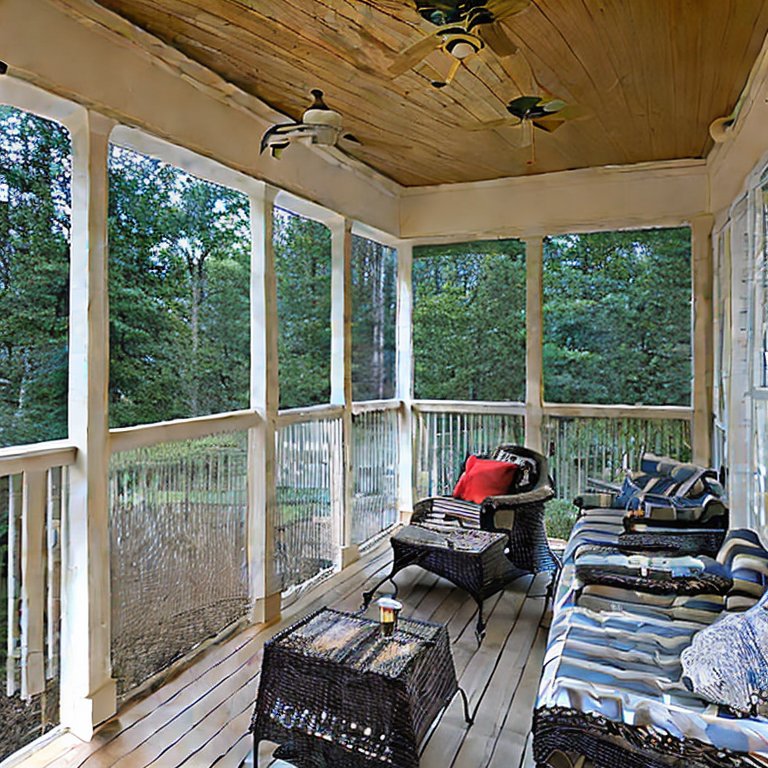
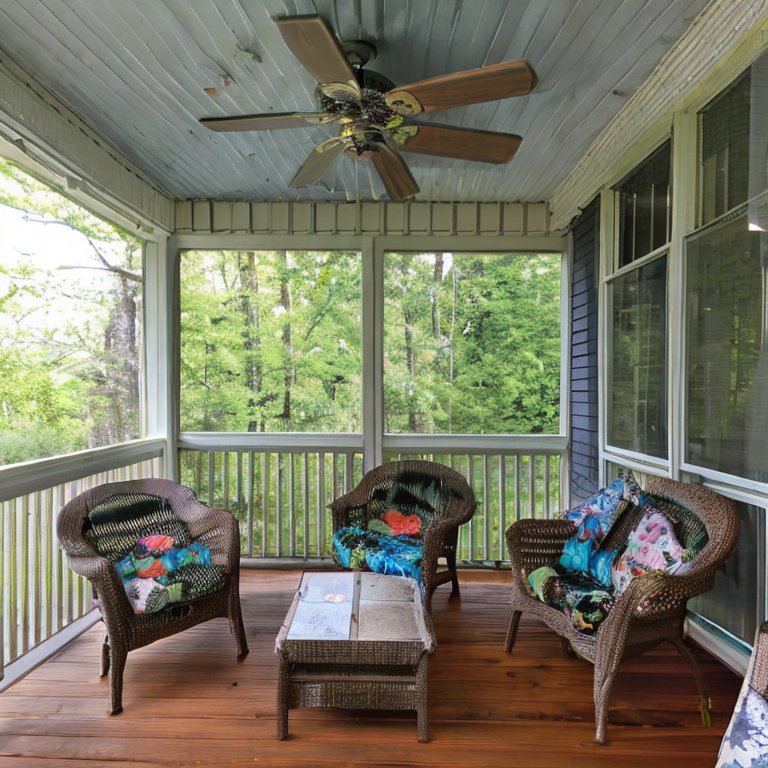
You can learn how to install porch screening for bug-free outdoor living by following these simple tips and reading relevant questions. By creating a barrier between your porch and the outside environment, porch screening can keep bugs and other pests out, allowing you to enjoy bug-free outdoor living. We will discuss the steps involved in installing porch screening and provide some tips to ensure a successful installation.


How to install porch screening for bug-free outdoor – Simple steps
Contents
- 1 How to install porch screening for bug-free outdoor – Simple steps
- 2 What are the best materials to use for porch screening installation?
- 3 Can I install porch screening on my own or do I need a professional?
- 4 What tools do I need to install porch screening?
- 5 How do I measure my porch for screening installation?
- 6 What is the cost of porch screening installation?
- 7 Can porch screening installation add value to my home?
- 8 How do I secure the screening material in place?
- 9 Are there any tips for maintaining my porch screening after installation?
- 10 How long does porch screening installation take?
- 11 Can I install a screen door on my porch myself?
- 12 How can I ensure a bug-free outdoor living space after porch screening installation?
- 13 What are some common mistakes to avoid during porch screening installation?
- 14 How do I clean porch screening after installation?
- 15 Final thoughts on how to install porch screening for bug-free outdoor living
Screened porches allow you to enjoy the outdoors without being bothered by insects or other pests. However, many people may be intimidated by the installation process. In this guide, we will break down the steps involved in installing porch screening to create a bug-free outdoor living space.
From measuring and cutting the screening material to securing it in place, we will guide you through the process to help you create a comfortable and relaxing porch that you can enjoy year-round.
To install porch screening for bug-free outdoor living, follow these steps:
Measure the dimensions of your porch: Take accurate measurements of the height, width, and length of each section of your porch that you want to screen. This will help you determine how much screening material you will need.
Choose the right screening material: There are different types of porch screening materials available, including fiberglass, aluminum, and polyester. Choose the material that suits your needs and budget.
Cut the screening material: Cut the screening material according to the measurements you took, leaving a few inches extra on each side for overhang.
Install the screen frame: Install a screen frame around the perimeter of your porch using wood or aluminum framing materials. Make sure the frame is securely attached to the porch structure.
Secure the screening material: Stretch the screening material taut over the screen frame, and secure it in place with staples or a specialized screen spline tool.
Trim the excess screening material: Once the screening material is secured in place, trim the excess material using a sharp knife or scissors.
Install a door: If you want to have a door in your porch screen, install a screen door using hinges and a latch.
By following these steps, you can successfully install porch screening and enjoy bug-free outdoor living on your porch.
What are the best materials to use for porch screening installation?
When it comes to choosing the right material for your porch screening installation, there are a few options to consider. The most common materials for porch screening are fiberglass, aluminum, and polyester. Fiberglass is a popular choice because it is affordable and durable, making it a good option for those on a budget.
It is also resistant to heat, moisture, and mildew, making it ideal for outdoor use. Aluminum screening is another popular option due to its durability and resistance to rust and corrosion. It is also lightweight, making it easy to install. Polyester screening is another good option that is known for its durability and resistance to tears and punctures. It is also resistant to mildew and UV rays, making it a good choice for outdoor use.
When choosing the right material for your porch screening installation, consider factors such as your budget, the climate in your area, and the level of durability and maintenance you require. You may also want to consider the visibility of the screening material, as some materials may be more opaque than others. Ultimately, the best material for your porch screening will depend on your specific needs and preferences.
Can I install porch screening on my own or do I need a professional?
Whether you can install porch screening on your own or need a professional will depend on your level of experience and the complexity of the installation process. If you are comfortable with basic tools and have some DIY experience, you may be able to install porch screening on your own.
However, if you have no experience with this type of project, it may be best to seek the help of a professional. A professional can ensure that the screening is installed correctly and can provide guidance on the best materials to use for your specific needs. Additionally, a professional can help ensure that your porch screening is properly secured, reducing the risk of any accidents or damage.
Before deciding whether to install porch screening on your own or with the help of a professional, consider factors such as your level of experience, budget, and timeline. If you have the time and resources to complete the project on your own, it can be a rewarding DIY project that can save you money.
However, if you are unsure about your ability to complete the project safely and accurately, it may be best to seek the help of a professional. Ultimately, the decision of whether to install porch screening on your own or with the help of a professional will depend on your individual needs and circumstances.
What tools do I need to install porch screening?
Installing porch screening requires a few basic tools to ensure that the process is completed accurately and efficiently. The first tool you will need is a measuring tape, which will help you determine the dimensions of your porch and the amount of screening material you will need.
Next, you will need a utility knife or scissors to cut the screening material to size. You may also need a screen roller tool to ensure that the screening material is properly secured to the frame of your porch.
Other tools that may be necessary for porch screening installation include a staple gun or nails, a drill, and screws. These tools will be used to secure the screening material to the frame of your porch and ensure that it stays in place.
Additionally, you may need a ladder or step stool to reach high areas of your porch during the installation process. Before beginning your porch screening installation, be sure to gather all necessary tools and ensure that they are in good working condition. This will help ensure that the installation process runs smoothly and that your porch screening is installed accurately and securely.


How do I measure my porch for screening installation?
Measuring your porch accurately is a critical first step in the porch screening installation process. Before you begin, gather a measuring tape and a notepad to record your measurements.
To measure your porch for screening installation, start by measuring the length of each wall, taking care to measure from the bottom of the wall to the top of the frame. Next, measure the height of each wall from the top of the frame to the ceiling or roofline. Be sure to measure each wall separately, as they may differ in size.
After measuring each wall, calculate the total area of your porch by multiplying the length of each wall by its height. This will give you the total square footage of your porch. Be sure to add a little extra for overlap when cutting your screening material to size.
Additionally, consider whether you will need to install a screen door or any other additional screening materials, such as a pet door. By measuring your porch accurately, you can ensure that you purchase the right amount of screening material and have everything you need to complete your porch screening installation project.
What is the cost of porch screening installation?
The cost of porch screening installation can vary depending on several factors, including the size of your porch, the materials you choose, and whether you install the screening yourself or hire a professional. In general, the cost of porch screening installation can range from a few hundred dollars to several thousand dollars.
If you choose to install the screening yourself, you can save money on installation costs but will need to factor in the cost of the screening material and any tools you may need. The cost of screening material can range from $0.25 to $0.50 per square foot for basic fiberglass screening to $1.50 to $2.00 per square foot for specialty screening materials.
If you choose to hire a professional to install your porch screening, the cost can vary depending on the size of your porch and the complexity of the installation process. In general, the cost of professional porch screening installation can range from $5 to $10 per square foot, not including the cost of the screening material.
Keep in mind that some professionals may charge an additional fee for removing any existing screening or installing any additional screening materials, such as a screen door. When planning your porch screening installation project, be sure to factor in all costs to ensure that you stay within your budget.
Can porch screening installation add value to my home?
Porch screening installation can be an excellent way to add value to your home. Outdoor living spaces are becoming increasingly popular, and having a screened porch can make your home more appealing to potential buyers.
Screened porches offer a comfortable space to enjoy the outdoors while staying protected from bugs and the elements. They also provide an additional area for entertaining, relaxing, and enjoying time with family and friends. By installing porch screening, you can create an inviting space that adds value to your home and appeals to a wide range of buyers.
In addition to adding value to your home, porch screening installation can also improve the overall curb appeal of your property. A well-designed, screened porch can enhance the exterior of your home, making it more attractive and visually appealing.
Additionally, screened porches can improve energy efficiency by providing an extra layer of insulation, which can help reduce your energy bills. Whether you are planning to sell your home or simply looking to enhance your outdoor living space, porch screening installation can be an excellent investment that adds value and improves the overall appeal of your property.
How do I secure the screening material in place?
Once you have the screening material cut to the appropriate size and ready to be installed, it’s time to secure it in place. One of the most common methods of securing porch screening is by using a screen spline.
A screen spline is a flexible cord that fits into a groove on the frame of the porch and holds the screening material in place. To use a screen spline, start by placing the screening material over the frame and pressing it into the groove. Then, use a spline roller to press the spline into the groove, securing the screening material in place.
Another method of securing porch screening is by using staples. Stapling the screening material to the frame is a quick and easy way to hold it in place. However, it is important to be careful not to staple the screening material too tightly, as this can cause it to wrinkle or sag.
Additionally, be sure to use staples that are the appropriate size for your frame and screening material. When using staples, start by placing the screening material over the frame and using a staple gun to attach it to the frame. Be sure to staple around the edges of the screening material, spacing the staples about 4-6 inches apart.


Are there any tips for maintaining my porch screening after installation?
Proper maintenance is essential for extending the life of your porch screening after installation. Regular cleaning can help prevent dirt, debris, and other contaminants from accumulating on the surface of the screening material, which can cause it to deteriorate over time.
To clean your porch screening, start by removing any loose debris with a soft brush or vacuum. Then, use a mild soap and water solution to gently scrub the screening material, being careful not to use any abrasive cleaners or brushes that could damage the material. Rinse thoroughly with a hose and allow the screening material to air dry.
In addition to regular cleaning, it is also important to inspect your porch screening periodically for signs of wear or damage. Look for tears, holes, or loose areas and repair them as soon as possible to prevent further damage.
If you live in an area with severe weather conditions, such as heavy winds or hail, it may be a good idea to install storm shutters or remove the screening material altogether during the worst of the weather to prevent damage. By following these simple maintenance tips, you can help extend the life of your porch screening and enjoy bug-free outdoor living for years to come.
How long does porch screening installation take?
The length of time it takes to install porch screening can vary depending on the size of the porch and the complexity of the project. In general, a small to medium-sized porch can be screened in a day or two, while larger porches may take several days or even a week to complete.
The installation process typically involves measuring the porch, cutting the screening material to size, securing it in place, and finishing the edges. The amount of time each step takes can vary depending on the experience of the installer, the tools used, and the condition of the porch.
It is important to note that porch screening installation can be a complex project that requires specialized knowledge and tools. While some homeowners may be able to tackle the project on their own, others may prefer to hire a professional to ensure the job is done correctly and efficiently.
Hiring a professional installer can also help ensure that the porch screening is installed according to local building codes and regulations, which can help avoid potential issues down the road. Before beginning any porch screening installation project, it is important to consider the time, resources, and expertise required to complete the project safely and effectively.
Can I install a screen door on my porch myself?
Installing a screen door on your porch can be a relatively simple and straightforward project that can be completed by a homeowner with basic DIY skills. The first step is to select a screen door that fits the opening on your porch and is designed for the specific purpose of keeping bugs and other pests out.
Screen doors come in a variety of sizes, materials, and styles, so it’s important to choose one that matches the aesthetic of your porch and meets your functional needs.
Once you have selected a screen door, the next step is to install it. Most screen doors come with pre-drilled holes and hardware for installation, which makes the process fairly easy. Start by positioning the screen door in the opening and marking the location of the hinge and handle screws.
Then, use a drill to make pilot holes for the screws and attach the hinges and handle to the door frame. Finally, hang the door on the hinges and test it to ensure it opens and closes smoothly. With a little patience and attention to detail, you can successfully install a screen door on your porch and enjoy bug-free outdoor living.
How can I ensure a bug-free outdoor living space after porch screening installation?
Installing porch screening is an effective way to create a bug-free outdoor living space, but there are a few additional steps you can take to ensure that bugs and other pests stay out. One simple solution is to install outdoor ceiling fans or use portable fans to create a breeze that keeps bugs away.
Many flying insects, such as mosquitoes, are not strong fliers and will be deterred by even a light breeze. You can also use citronella candles, bug zappers, or other insect repellents to further discourage pests from entering your outdoor living space.
Another important factor to consider is the cleanliness of your outdoor living space. Bugs are attracted to food scraps, garbage, and standing water, so be sure to keep your outdoor area clean and free of clutter.
Clean up any spills or food debris immediately, and dispose of garbage in sealed containers. You should also take steps to eliminate any sources of standing water, such as birdbaths or flowerpot saucers, as these can attract mosquitoes and other flying insects. By combining these preventative measures with porch screening installation, you can create a bug-free outdoor living space that you can enjoy all season long.
What are some common mistakes to avoid during porch screening installation?
One common mistake that homeowners make during porch screening installation is not measuring correctly. Before purchasing screening material, it is important to accurately measure the dimensions of your porch to ensure that you purchase enough material and avoid any costly mistakes.
Another mistake is not preparing the porch properly. Before installing the screening material, it is important to clean the porch thoroughly and repair any damaged areas. Failure to do so can result in a less secure installation and may even require the need for re-screening in the future.
Another common mistake is not properly securing the screening material in place. It is important to use the appropriate fasteners, such as screws or staples, to secure the material to the porch frame. Failing to do so can result in the screening material becoming loose or detached, which can be unsightly and reduce the effectiveness of the porch screening.
Additionally, not finishing the edges of the screening material can also be a mistake. The edges should be finished with a track or trim to prevent fraying and ensure a clean, professional-looking installation. By avoiding these common mistakes and following best practices, you can achieve a successful porch screening installation and enjoy a bug-free outdoor living space for years to come.


How do I clean porch screening after installation?
Cleaning your porch screening regularly is important to maintain its appearance and effectiveness. To clean the screening material, start by using a soft-bristled brush or a vacuum with a brush attachment to remove any loose dirt or debris. Be sure to avoid using any abrasive cleaning tools or harsh chemicals that could damage the screening material.
If you need to clean the screening material more thoroughly, you can use a gentle soap solution and a soft sponge or cloth to gently wipe down the surface. Avoid using too much water or soaking the screening material, as this can damage the screen and may cause it to detach from the porch frame.
Once you have finished cleaning, rinse the screening material with a hose or bucket of clean water to remove any soap residue. With proper care and maintenance, your porch screening can continue to provide a bug-free outdoor living space for many years.
Final thoughts on how to install porch screening for bug-free outdoor living
I am sure now you know how to install porch screening for bug-free outdoor living, you are more prepared to get it done. By following the steps outlined above, you can successfully install porch screening on your own and create a comfortable, pest-free space for yourself and your family.
Remember to choose the right screening material, measure and cut carefully, and secure the screening tightly to ensure that it stays in place. With these tips and a little bit of effort, you can transform your porch into a comfortable and relaxing space that you can enjoy year-round.


