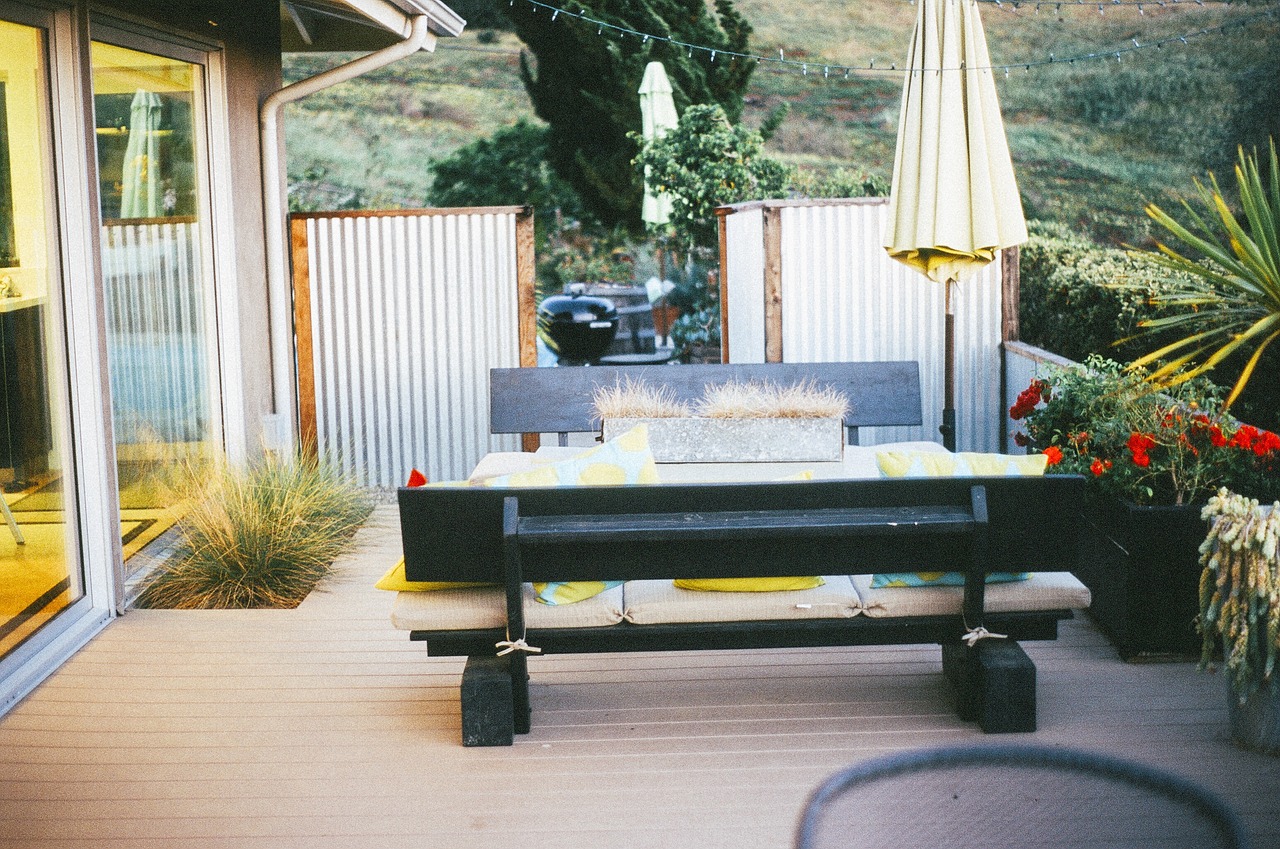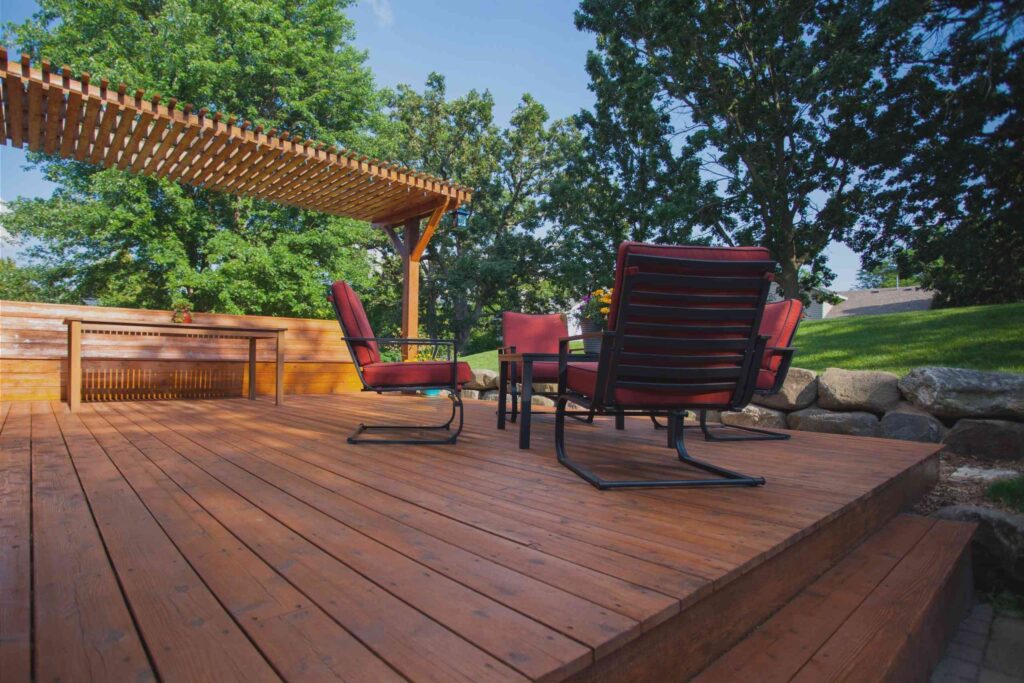
A wooden deck is a beautiful and functional addition to any home, providing an outdoor space for relaxation, entertainment, and family gatherings. However, to keep your deck looking its best and ensure its longevity, regular maintenance and timely repairs are essential. Over time, exposure to the elements can cause wear and tear on the wood, leading to issues like splintering, cracking, or even rot. By staying on top of maintenance and addressing repairs promptly, you can extend the life of your deck and keep it safe and attractive for years to come.
In this blog post, we’ll explore some top tips for maintaining and repairing your wooden deck. From routine cleaning to more intensive repairs, these practical steps will help you protect your investment and enjoy your outdoor space to the fullest.
1. Regular Cleaning: The First Line of Defense
Contents
- 1 1. Regular Cleaning: The First Line of Defense
- 2 2. Inspect for Damage: Catch Problems Early
- 3 3. Sealing and Staining: Protect Your Deck from the Elements
- 4 4. Repairing Damaged Boards: Keep Your Deck Safe and Secure
- 5 5. Winterizing Your Deck: Prepare for Harsh Weather
- 6 6. Keep Your Wooden Deck in Top Shape
One of the most important aspects of deck maintenance is keeping it clean. Dirt, debris, and moisture can accumulate on your deck, leading to discoloration, mold, and even structural damage over time. Regular cleaning is essential to prevent these issues and keep your deck looking fresh.
How Often to Clean:
At a minimum, you should clean your deck thoroughly at least once a year—preferably in the spring or fall. However, more frequent cleanings are recommended if your deck is heavily used or if it’s located in a shady area where mold and mildew are more likely to develop.
Cleaning Steps:
1. Remove Debris: Start by removing any debris, such as leaves, twigs, or dirt, from the deck surface. Use a broom or leaf blower to clear the deck thoroughly, paying special attention to the spaces between the boards.
2. Wash the Deck: Use a garden hose with a spray nozzle to rinse the deck. For a deeper clean, mix a deck cleaner or a mild detergent with water in a bucket. Apply the solution with a scrub brush or a mop, scrubbing the boards in the direction of the grain. For tough stains or mold, you may need to use a more powerful deck cleaner specifically designed for wood.
3. Rinse Thoroughly: After scrubbing, rinse the deck thoroughly with clean water to remove any soap residue. Allow the deck to dry completely before moving on to any other maintenance tasks, such as staining or sealing.
2. Inspect for Damage: Catch Problems Early
Regular inspections are key to catching potential issues before they become major problems. By identifying and addressing damage early, you can prevent more extensive and costly repairs down the line.
What to Look For:
During your inspection, pay close attention to the following areas:
- Loose or Protruding Nails: Over time, nails can work their way out of the wood, creating hazards for bare feet and weakening the deck’s structure. Hammer any protruding nails back into place, or replace them with deck screws for a more secure hold.
- Cracks and Splinters: Check the deck boards for cracks or splinters, especially in high-traffic areas. Small cracks can often be filled with wood filler, while larger cracks or severely splintered boards may need to be replaced.
- Rot and Decay: Inspect the deck for signs of rot or decay, particularly in areas where water tends to collect, such as around the edges of the deck or near railings and posts. Rotting wood should be removed and replaced as soon as possible to prevent the damage from spreading.
- Mold and Mildew: Look for any black or green spots on the wood, which could indicate mold or mildew growth. Mold and mildew can weaken the wood and create a slippery surface, so it’s important to address these issues promptly.
3. Sealing and Staining: Protect Your Deck from the Elements
Sealing and staining your deck are crucial steps in protecting the wood from moisture, UV rays, and other environmental factors that can cause damage over time. Both sealing and staining help preserve the wood’s appearance and extend its lifespan.
Sealing:
A wood sealer creates a protective barrier that helps prevent water from penetrating the wood. This is especially important in areas with heavy rainfall or snow, where moisture can lead to rot and decay.
- How Often to Seal: Most wooden decks should be sealed every one to three years, depending on the climate and the condition of the wood. If water no longer beads up on the surface of the deck, it’s time to reseal.
- Choosing a Sealer: There are different types of sealers available, including clear sealers, which allow the natural color of the wood to show through, and tinted sealers, which add a slight color while still providing protection. Choose a sealer that suits your aesthetic preferences and the specific needs of your deck.
- Application Tips: Apply the sealer using a brush, roller, or sprayer, working in the direction of the wood grain. Be sure to cover the entire surface evenly, and allow the sealer to dry completely before using the deck.
Staining:
Staining your deck not only enhances its appearance but also provides additional protection against the sun’s UV rays, which can cause the wood to fade and deteriorate.
- How Often to Stain: Like sealing, staining should be done every one to three years, depending on the condition of the deck and the type of stain used.
- Choosing a Stain: There are several types of stains to choose from, including transparent, semi-transparent, and solid stains. Transparent stains allow the wood grain to show through, while solid stains provide more coverage and color. Consider the look you want to achieve and how much protection your deck needs when choosing a stain.
- Application Tips: Before applying the stain, make sure the deck is clean and dry. Use a brush or roller to apply the stain evenly, following the wood grain. Apply a second coat if necessary, and allow the stain to dry completely before using the deck.
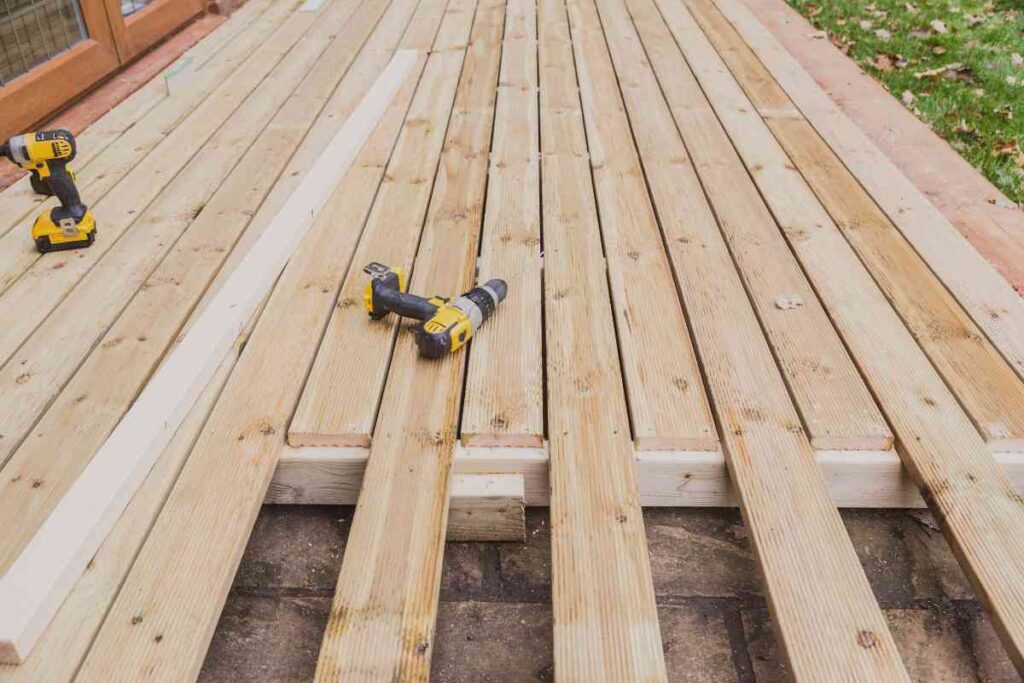
4. Repairing Damaged Boards: Keep Your Deck Safe and Secure
Despite your best efforts at maintenance, you may occasionally encounter damaged boards that need to be repaired or replaced. Addressing these issues promptly is essential to maintaining the safety and integrity of your deck.
Replacing Damaged Boards:
If you find a board that is severely cracked, splintered, or rotting, it’s best to replace it entirely. Here’s how:
1. Remove the Damaged Board: Use a pry bar or hammer to carefully remove the damaged board. If the board is secured with screws, use a drill to remove them.
2. Cut a Replacement Board: Measure the length of the damaged board and cut a replacement piece from a new board of the same type and dimensions.
3. Install the New Board: Place the new board in the gap left by the old one. Secure it with deck screws or nails, making sure it’s flush with the surrounding boards.
4. Stain and Seal: If necessary, stain and seal the new board to match the rest of the deck.
Tightening Loose Boards:
If you notice any loose boards during your inspection, tighten them immediately to prevent accidents and further damage. Use deck screws to secure the boards more effectively than nails, which can loosen over time.
Fixing Squeaky Boards:
Squeaky boards can be annoying and may indicate loose fasteners. To fix squeaky boards, drive a few additional screws into the board to secure it to the joists underneath.
5. Winterizing Your Deck: Prepare for Harsh Weather
If you live in an area with cold winters, it’s important to prepare your deck for the season to prevent damage from snow, ice, and freezing temperatures.
Remove Debris:
Clear your deck of any leaves, dirt, or debris before the first snowfall. Debris can trap moisture against the wood, leading to mold, mildew, and rot.
Apply a Waterproof Sealant:
Applying a waterproof sealant before winter sets in will help protect the wood from moisture and freezing temperatures. This is especially important if you live in an area with heavy snow or ice.
Clear Snow and Ice:
When snow accumulates on your deck, use a plastic shovel to remove it. Avoid using metal shovels, which can scratch and damage the wood. For ice, use a salt-free de-icer, as traditional rock salt can be harsh on wood.
6. Keep Your Wooden Deck in Top Shape
Maintaining and repairing your wooden deck doesn’t have to be a daunting task. By following these top tips, you can keep your deck looking beautiful and functioning well for years to come. Regular cleaning, timely inspections, and proper sealing and staining are key to preserving the wood’s integrity and preventing costly repairs.
Remember, a well-maintained deck not only enhances the beauty of your outdoor space but also provides a safe and enjoyable area for you and your family to relax and entertain. With a little effort and attention to detail, your wooden deck can remain a stunning feature of your home for many years.