To install built-in deck seating, measure and plan the seating layout. Secure the frame and attach the seating surfaces.
Creating built-in deck seating transforms your outdoor space into a cozy retreat. This functional addition not only enhances comfort but also maximizes space usage. By incorporating built-in seating, you eliminate the need for bulky furniture, creating a seamless look. It’s a great way to add value to your home while providing a perfect spot for relaxation and socializing.
Whether you’re hosting a barbecue or enjoying a quiet evening, built-in deck seating offers the ideal solution. This project can be tackled by DIY enthusiasts with basic carpentry skills, making it accessible and rewarding. Plan carefully, use quality materials, and follow safety guidelines for a successful installation.
Planning Your Built-in Deck Seating
Contents
Measure your deck to know how much space you have. Look for areas that can fit seating comfortably. Think about the traffic flow on the deck. People should move easily without bumping into furniture. Consider where the sun shines and where there is shade. This helps in choosing the best spot for seating.
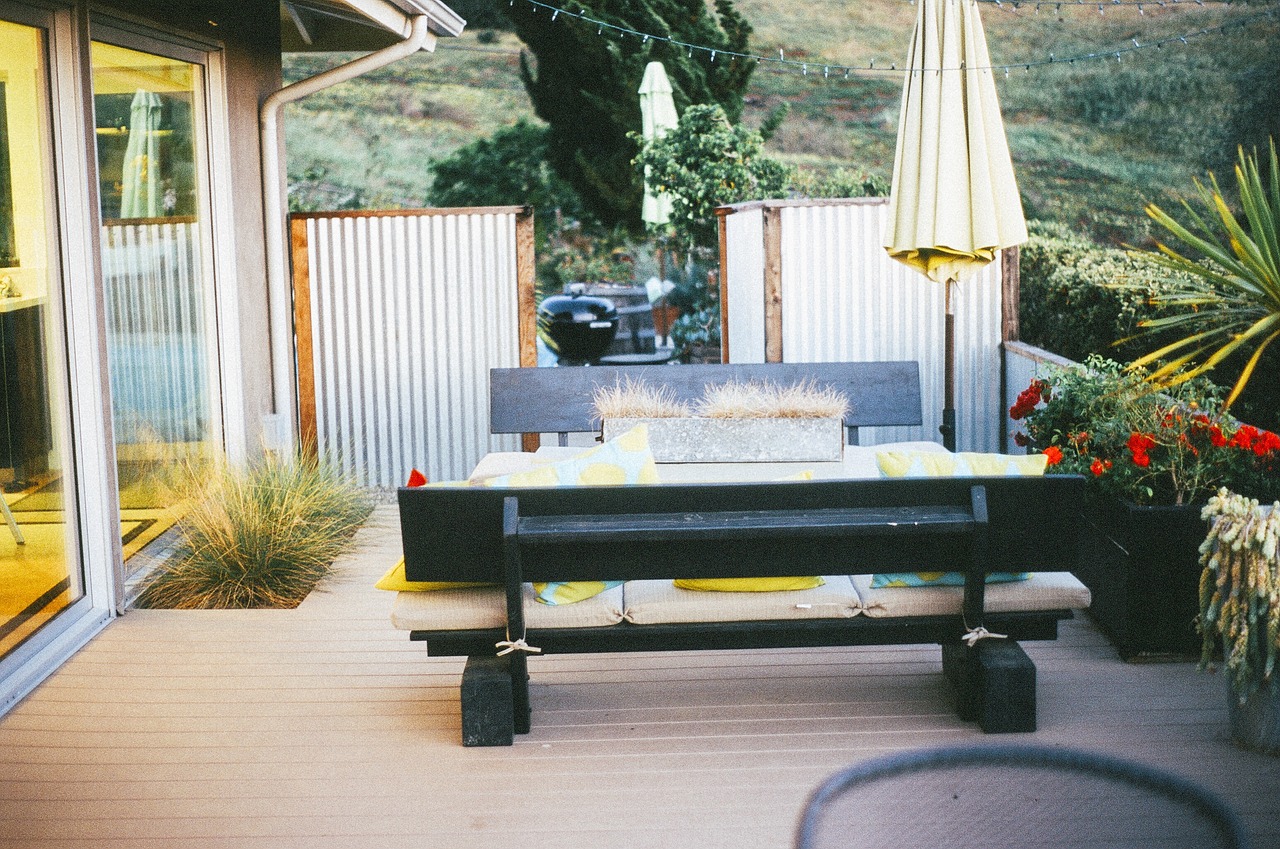
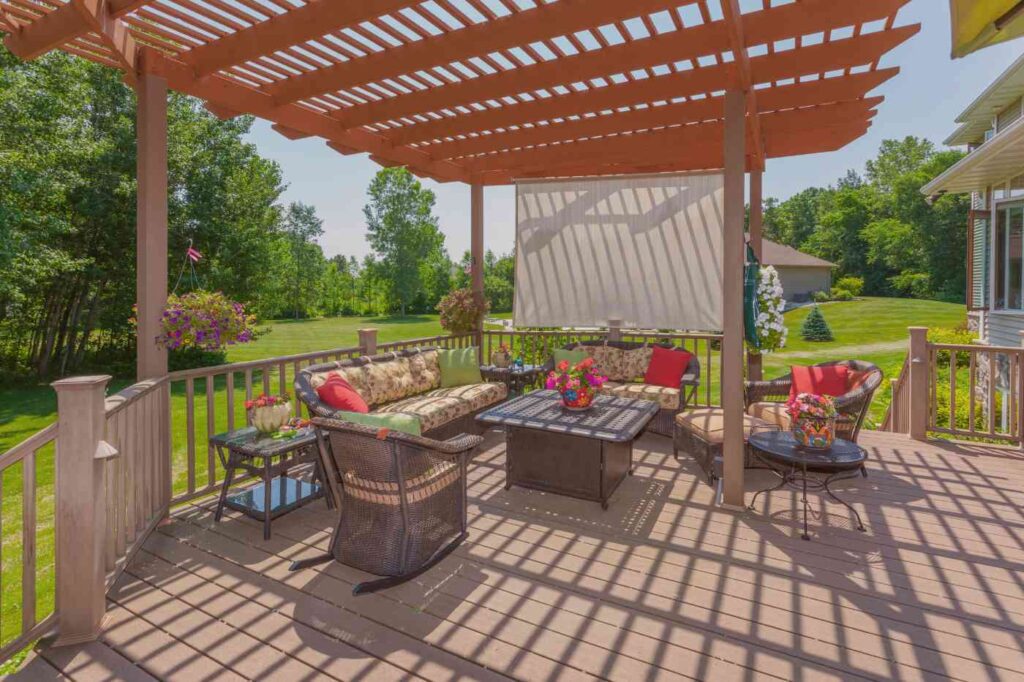
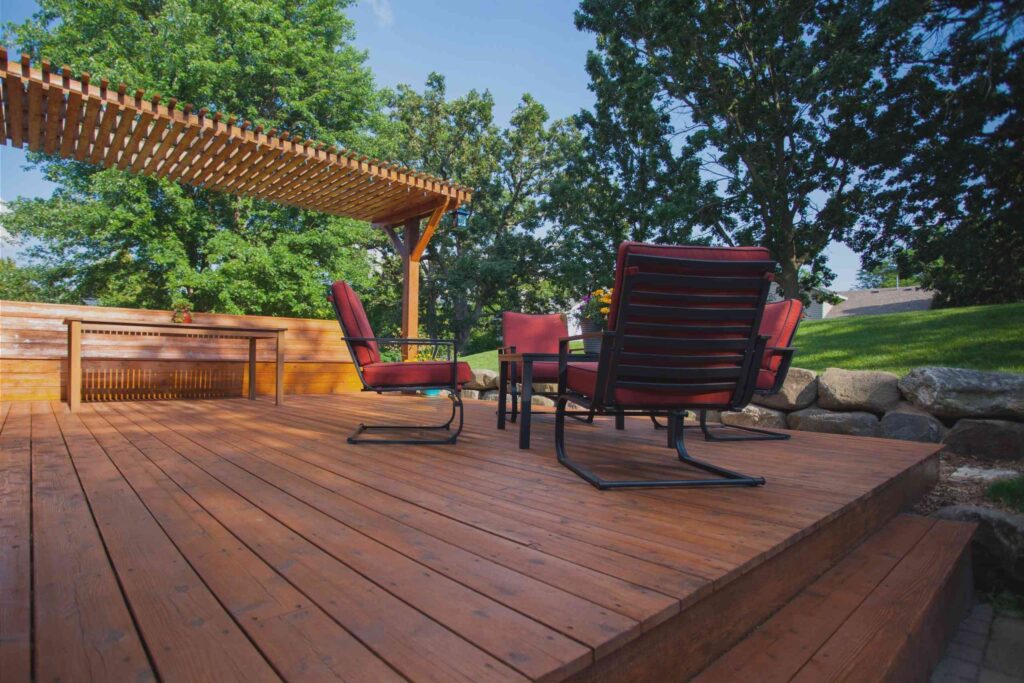
Decide if you want benches, sofas, or a mix. Built-in benches save space and add storage. Sofas provide more comfort but need cushions. Think about the materials that match your deck. Wood, metal, and plastic are common choices. Pick a design that blends well with your home’s style. Choose colors that complement the surroundings.
Gathering Materials And Tools
Before starting, gather all necessary materials and tools like wood, screws, a saw, and a drill. Organizing your supplies ensures a smoother installation process.
Essential Materials
You will need several essential materials to build deck seating. Pressure-treated lumber is a must for durability. Galvanized screws will hold everything together. Decking boards are needed for the seat and backrest. Wood stain or paint will protect the wood and add color. Concrete mix is used for securing posts in the ground.
Necessary Tools
Make sure to have essential tools before starting. A measuring tape ensures accurate cuts. A circular saw will cut the wood. Power drills are needed for screws. Clamps hold pieces together while working. A level keeps everything straight. Safety goggles protect your eyes.
Preparing The Deck Area
Remove all furniture and plants from the deck. Sweep the deck to get rid of leaves and dirt. Scrub the deck with soap and water to remove stains. Rinse the deck well and let it dry completely. Make sure the deck is clear of debris before starting any work.
Use a tape measure to find the size of the seating area. Write down these measurements on a notepad. Mark the spots where the seating will go with chalk or a pencil. This will help you see where to place the boards. Double-check the measurements to ensure accuracy.
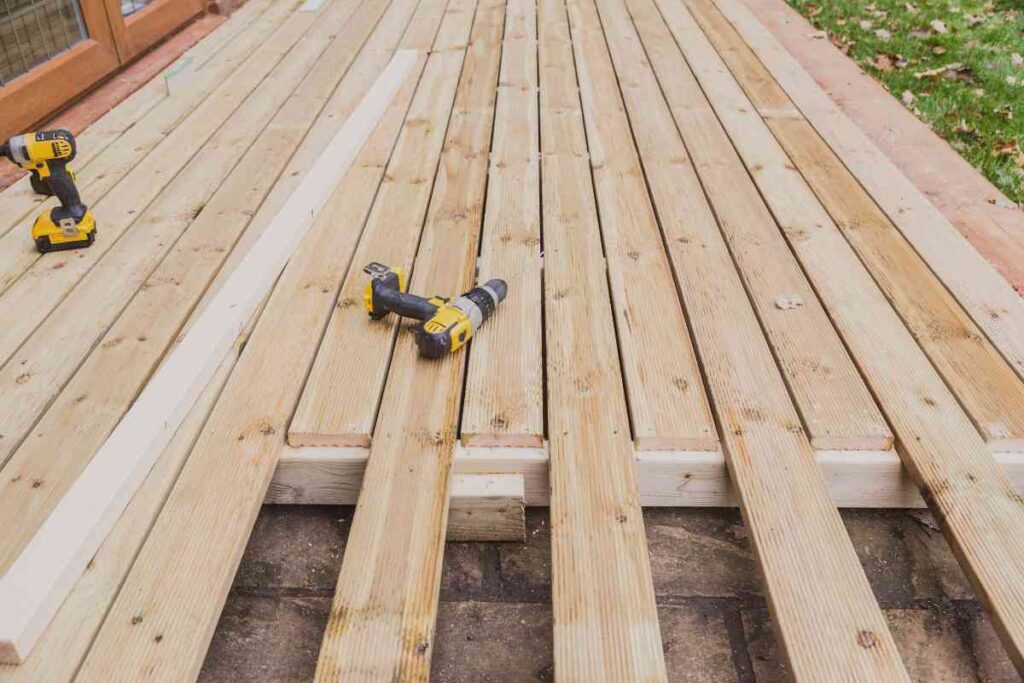
Building The Frame
First, measure the area for the deck seating. Use a tape measure for accuracy. Mark the lumber with a pencil. Next, use a saw to cut the lumber. Make sure the cuts are straight. Wear safety goggles while cutting. Double-check each piece for the right size. Set the cut pieces aside.
Lay the cut lumber pieces on the ground. Arrange them to form the frame. Use screws to attach the pieces together. A power drill makes this easier. Make sure the frame is sturdy. Check that all corners are square. Use a level to ensure the frame is even. Adjust as needed.
Installing The Seat Boards
Install the seat boards securely to ensure stability and comfort. Use weather-resistant screws and ensure even spacing for a polished look.
Securing The Boards
First, place the seat boards on the frame. Make sure they are even and aligned. Use a level to check this. Next, drill pilot holes through the boards and into the frame. This prevents the wood from splitting. Secure the boards with deck screws. Make sure the screws are flush with the wood. This gives a smooth finish.
Ensuring Stability
Check the stability of the seat. Sit on it and wiggle a bit. If it moves, add more screws. Use brackets for extra support if needed. Place the brackets under the seat. Secure them to both the frame and the boards. This helps keep the seat sturdy. Enjoy your cozy outdoor space!
Adding Backrests And Armrests
Start by measuring the height of the backrest. Cut the wooden planks to the desired height. Attach the planks to the deck frame using screws. Ensure the backrest is sturdy and secure. Use a level to make sure it is straight. Sand the edges to avoid splinters. Paint or stain the backrest if desired.
Measure the length of the armrest. Cut the wood to match this measurement. Secure the armrests to the sides of the seating. Use brackets and screws for extra support. Check the armrests for stability. Sand any rough edges. Paint or stain the armrests to match the seating.
Finishing Touches
Complete your deck transformation by installing built-in seating. Enhance comfort and style while maximizing outdoor space. Enjoy a cozy, functional area perfect for gatherings.
Sanding And Sealing
Start by sanding the wood to make it smooth. Use fine-grit sandpaper for the best results. This will prevent splinters. Make sure to sand all surfaces. After sanding, clean off any dust. Next, apply a wood sealer to protect the wood. The sealer will keep the wood from rotting. It also helps to maintain its color. Apply the sealer with a brush. Allow it to dry completely before using the seating.
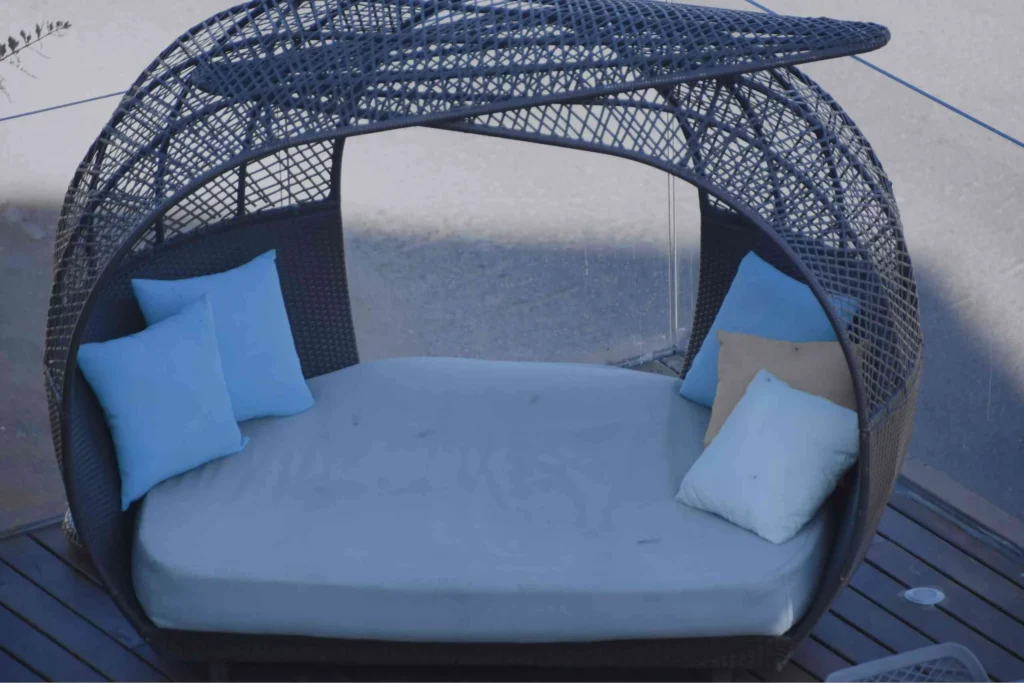
Adding Cushions And Decor
Choose cushions that are weather-resistant. This ensures they last longer. Place the cushions on the built-in seating. Add colorful pillows for extra comfort. Consider using outdoor rugs to enhance the space. Rugs can define the seating area. Add plants around the seating for a cozy feel. Use string lights to create a warm ambiance at night. Place a small table nearby for drinks and snacks. Decorate with lanterns or candles for a relaxing vibe.
Maintaining Your Built-in Seating
Enhancing your outdoor space with built-in deck seating creates a cozy environment. Regular maintenance ensures durability and comfort. Clean cushions and treat wood surfaces to prevent damage.
Regular Cleaning
Regular cleaning keeps your built-in seating nice and fresh. Use a soft brush to remove dirt. A mild soap and water mix works well for washing. Make sure to rinse off all soap. Let the seating dry completely before using. This helps prevent mold and mildew. Cleaning weekly or after heavy use is best.
Repairing And Retouching
Small repairs can keep your seating looking new. Check for loose nails or screws. Tighten or replace them as needed. Sand down rough spots to avoid splinters. Use touch-up paint or stain to cover scratches. This helps the wood stay protected. Regular maintenance extends the life of your seating.
Creating built-in deck seating transforms your outdoor space into a cozy retreat. Follow these steps for a functional and stylish result. Enjoy the added comfort and convenience that built-in seating offers. With a bit of effort, your deck can become the perfect spot for relaxation and entertaining.
Happy building!